Home → Microsoft → Windows Server → Windows Active Directory Step by Step Installation Guide
2.2. Windows Active Directory Step by Step Installation Guide
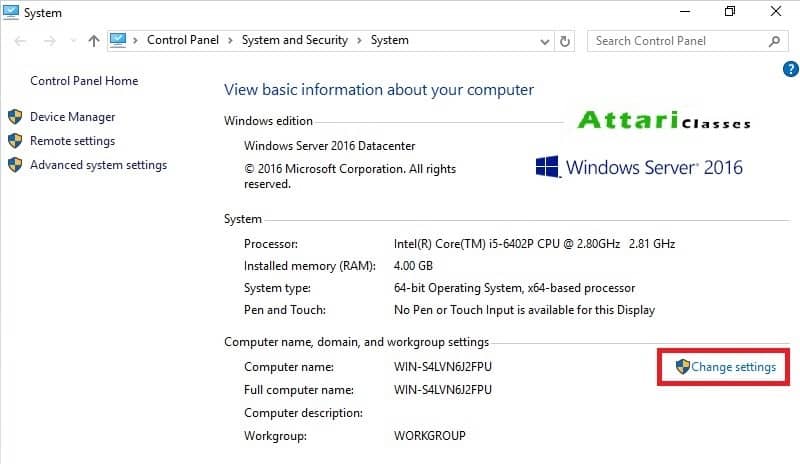
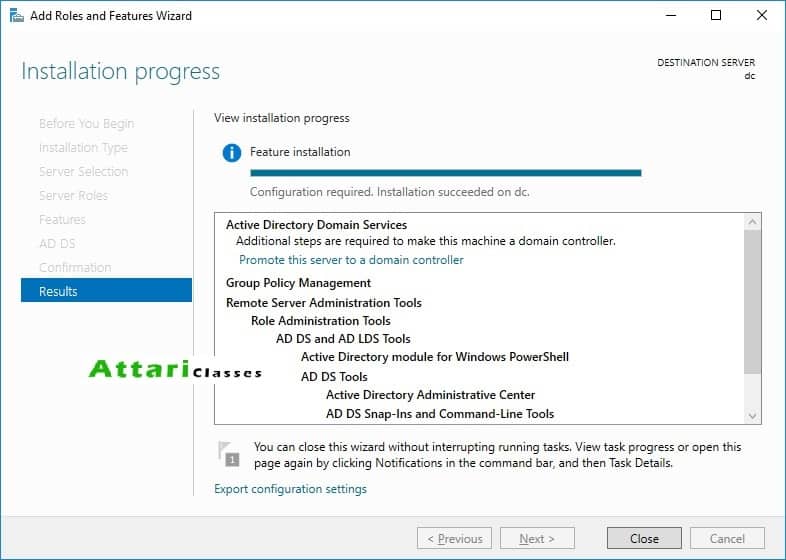
Directory services have become more critical to managing IT infrastructure as networking resources have grown. Microsoft Windows Active Directory is one of the most well-known directory services, and ADDS has established itself as a standard tool among network administrators. Here we will demonstrate how to set up Active Directory on Windows Server 2016 step-by-step. The same steps can be followed for installing Microsoft active directory on Windows 2019 and 2022 server's. Here is how you can create and configure user profiles for Windows Server 2016 by using Active Directory Domain Services. Give a name like 'dc' and click on OK Select "use the following IP address" and "use the following DNS" and Give IP Address and DNS Log on to Windows Server machine. Navigate into Server Manager. Click Manage -> Add roles and features. Click on Next Select the type of installation - Role-based or feature-based - then click Next. Select the Server as below Click on Active Directory Domain Services Click on Next Click on Next Select restart and click on Install Click on Close Click on promote this server to a domain controller Click on Add a new forest and give Root domain name (example attari.com) Type in DSRM password Click on Next Give NetBIOS Name and Click on Next Click on next Click on next Click on Install Suppose you are a fresh graduate or desktop engineer who wants to gain practical knowledge of Microsoft Windows Server ( MCSE ), In that case, you can enroll in this course with Attari Classes , which offers live instructor-led training, recorded lectures for backup purposes, and trainer support via WhatsApp.Requirement to install AD


